Bring order to the chaos - part two
As the dust settled, I started wondering. How are we going to do this? What options do we have?


The excitement - and victory dances in the living room - regarding the idea to built our own automatic plant irrigation system kicked up quite some dust. We felt like inventors. Pure joy.
This blog is part of a series of posts about building a plant irrigation system using a Raspberry Pi.
As the dust settled, I started wondering. How are we going to do this? What options do we have? I quickly found that the challenge is not the options. There are enough of them out there. The real challenge for me was to not get scared of the required knowledge and skills I need to built this. Electronics, wiring, programming micro controllers, I2C protocols, analogue & digital signals, GPIO pins etc. Imposter syndrome kicked in.
Illustrations by Janneke Schot
Keep the end goal in mind. Don't worry about the details. I decided to break the project in small problems and deal with one problem at a time. Bring order to the chaos. The first problem is figuring out what I need. What does it mean to automate something?
My understanding of automation is that it consists of removing the human element from a repetitive system. In our case, the system consist of a set of actions that ultimately lead to a plant being water:
- Feeling how moist the soil is, by sticking a finger in it
- Deciding to water the plants based on measurements from the first step
- Walk to the tap to get water
- Water the plants
In each one of these steps, human involvement is required. We need to eliminate that. We need to replace the finger by a moisture sensor. The brain by a controller and code. The walk by some kind of pipes and the watering of the plants by some kind of switch controlling the flow.
Small pieces. Small problems. This feels like progress. I quickly decided the irrigation system will consist of the following components:
- code & controller
- Soil moisture sensor
- Water pump
- Sprinklers
The next step is filling in the blanks. Which sensors and controllers are out there?
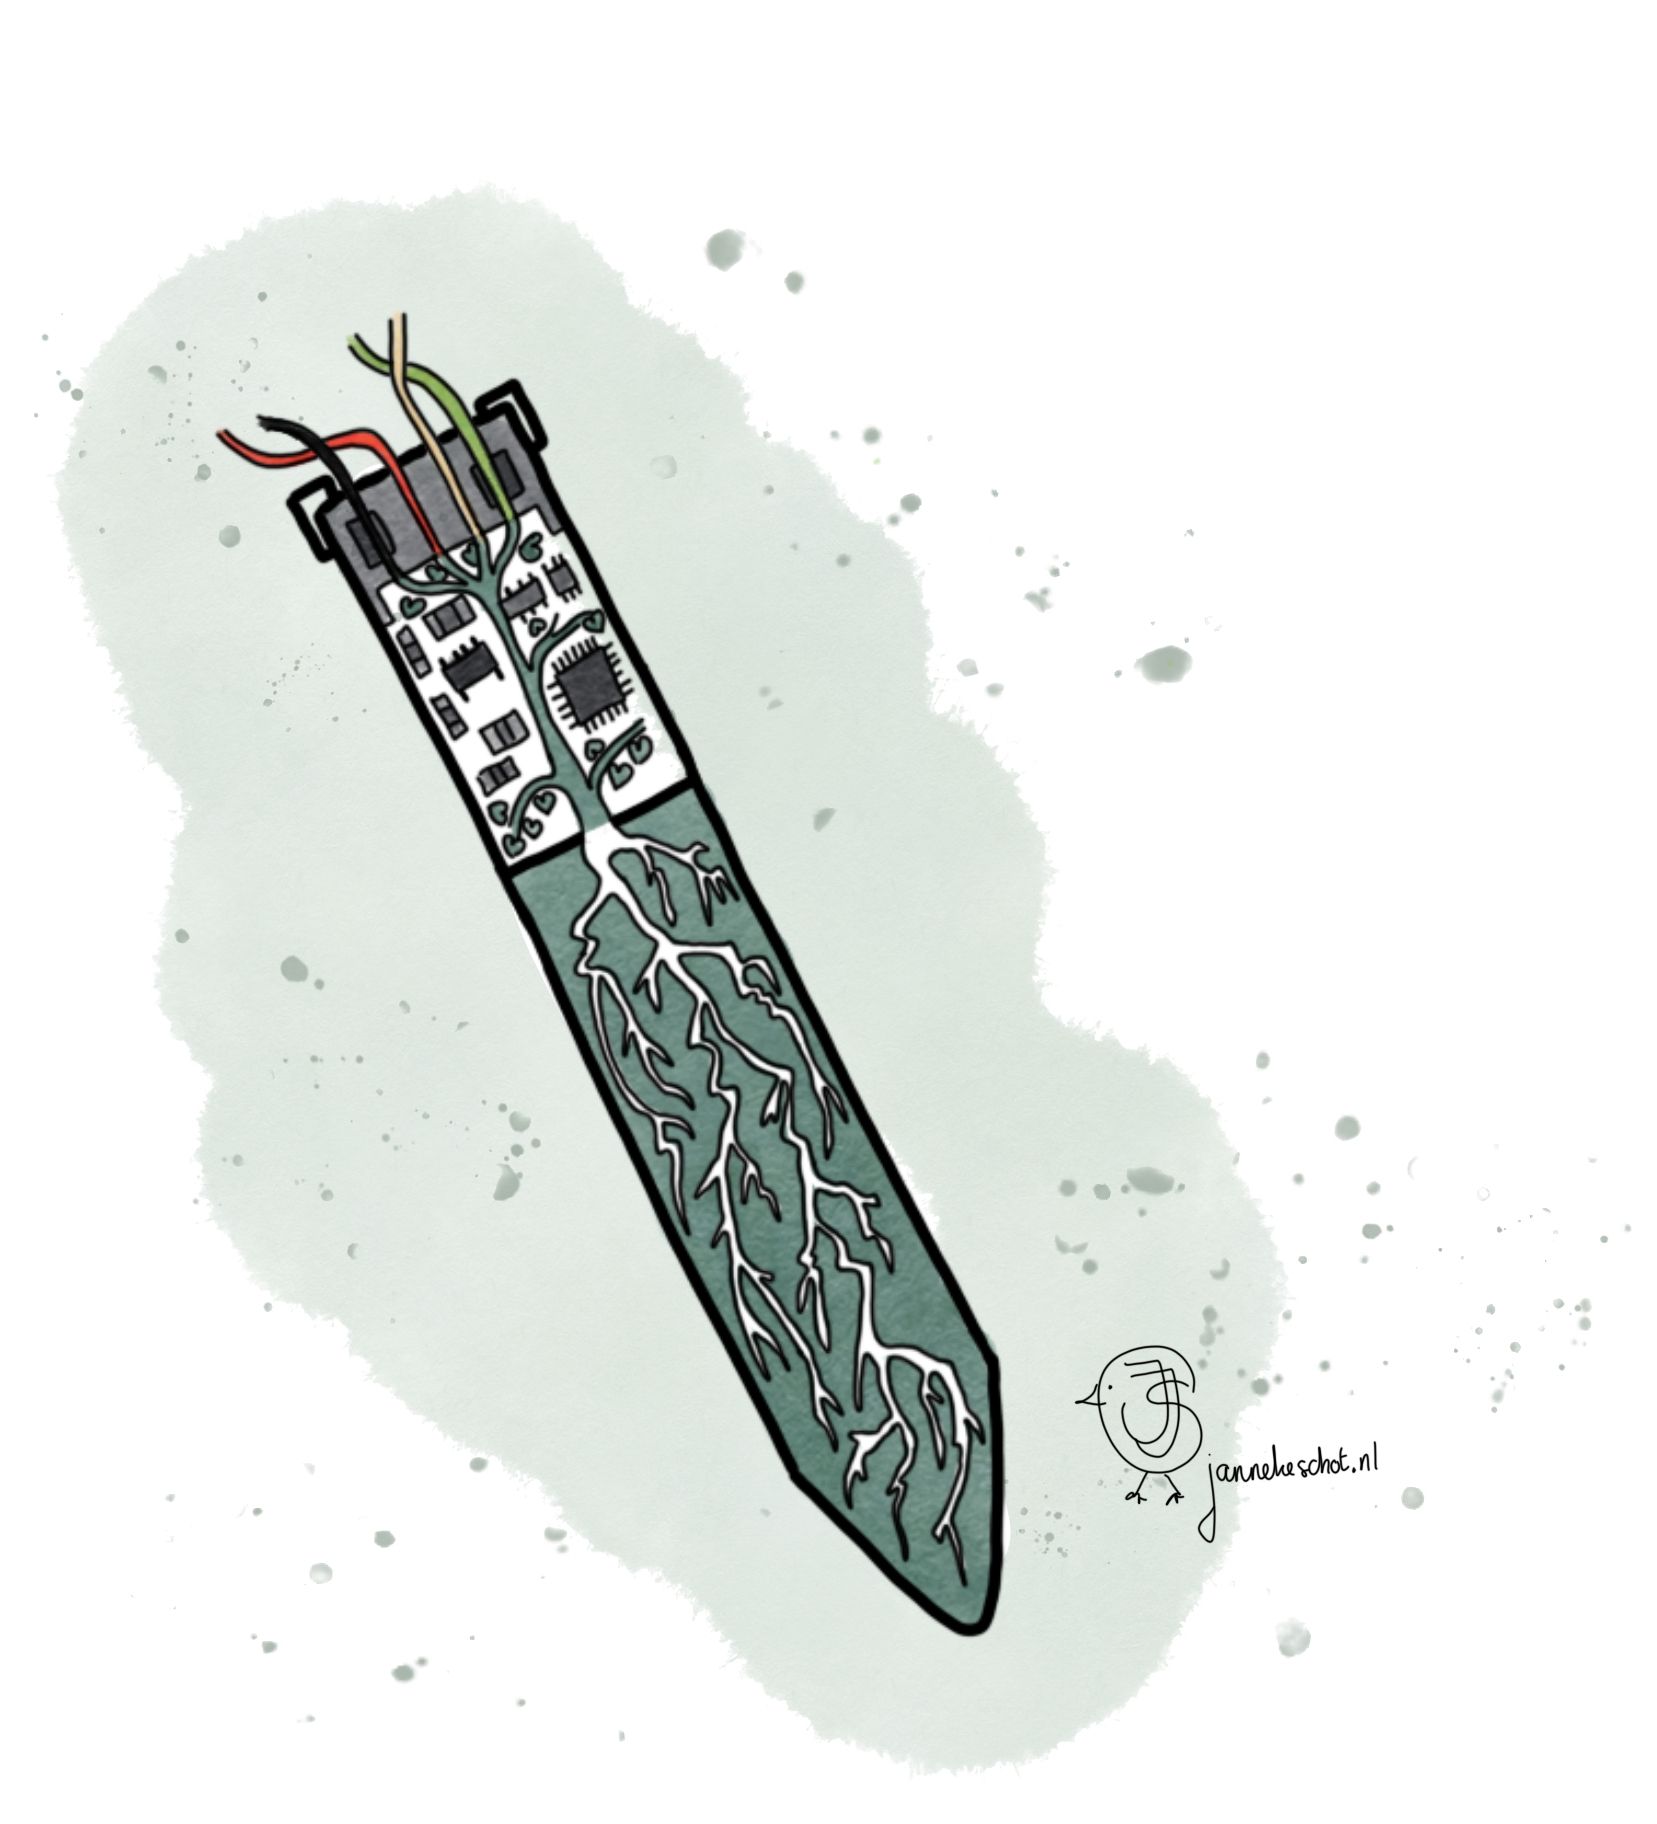
Replacing the finger
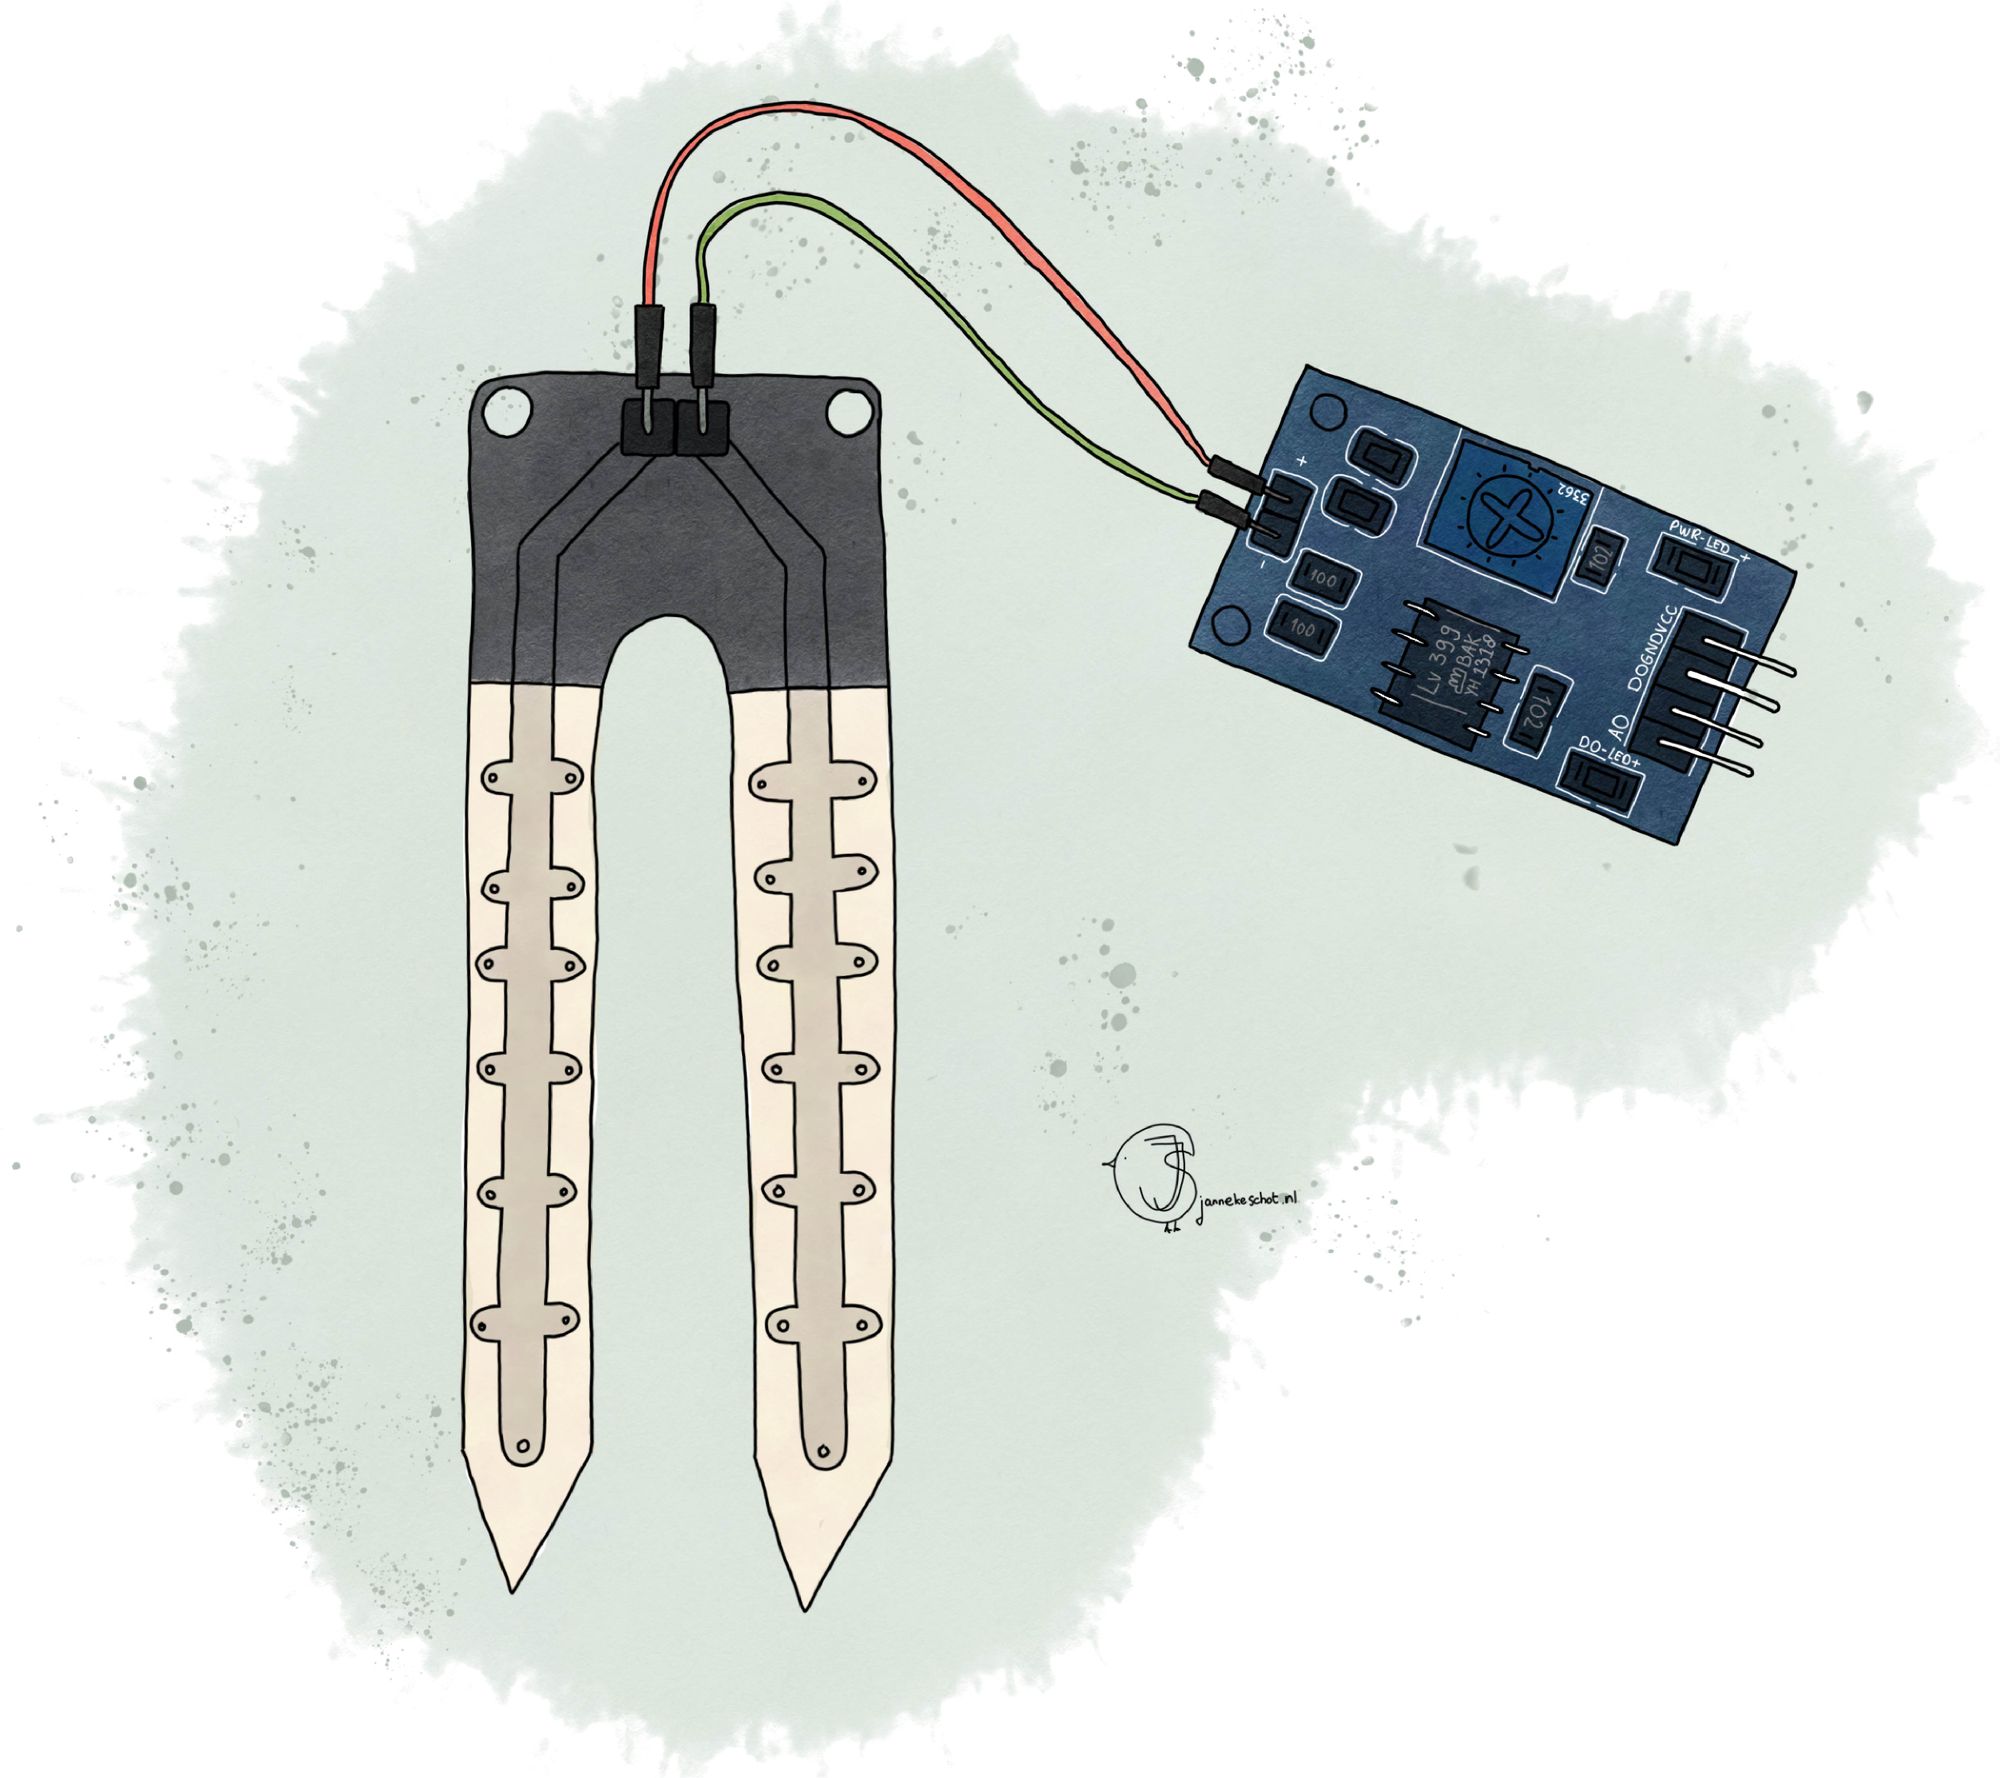
A simple Internet search revealed there are more moisture sensors available for sale, than there are fish in the sea. A common and affordable sensor is one that has two probes. The probes are placed in the soil and the sensor measures the conductivity between them. The more water in the soil, the better the conductivity. Amazing. So simple. So effective, Right? I wish I had invented this.

Little did I know, these sensors are total crap. I quote from the documentation: "one commonly known issue with soil moisture sensors is their short lifespan when exposed to a moist environment". This doesn't make sense. It's like reading an observation in Darwin's notebook: "Humans need oxygen to survive. One commonly known issue is their short lifespan when exposed to oxygen".
What's the problem here? It's simple. The probes have a metal layer which is exposed to the moist and air. The metal oxidizes in time, affecting the conductivity. The measurements become inconsistent and the sensor needs to be calibrated. Calibration is done by humans. We don't want humans, therefore we don't want this sensor.
Back to the Internet.
What other options do we have for a moisture sensor? Still a lot. But, luckily we have our budget to use as a filter. I decided I don't want to spend more then 10 euro for a sensor. With this criterium, a new type of sensor presented itself. A so called capacitive sensor. There is no metal exposed on these sensors and they don't need to be calibrated. Perfect. We are almost there. The final step is too choose one of the many manufactures. I ended up going for Adafruit's Stemma Soil sensor. It's relatively expensive compared to its competitors, but, it had two things the other sensors did not have:
- Extensive dummy proof documentation
- I2C protocol with a python library to read the measurements.
More about this later.
Next stop, replacing the brain!
Replacing the brain
Brains are typically replaced by micro controllers or single board computers. These are small programmable computers with one or more CPU's, some internal memory and GPIO pins for connecting sensors. Micro controllers are typically designed to run one program at a time. These programs are written in C and need to be compiled.
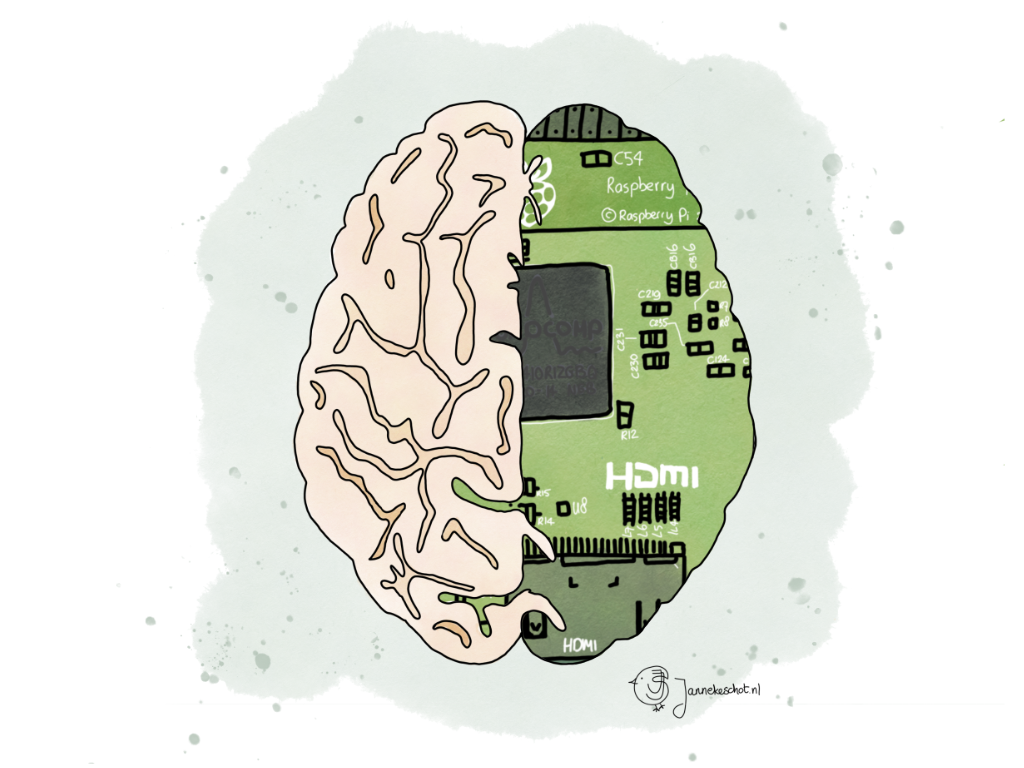
Another option is a to use a single board computer (SBC), like the Raspberry Pi. SBC's have more computing power then micro controllers. Raspberry Pi is a general purpose computer with a Linux operating system. It can run multiple and complex tasks at once. Think of real time image classification to detect birds, for example or running webservers. It has great support for Python and there is no need to compile any code. It requires a bit more skills and configuration understanding of configuration (GPIO, Linux and I2C protocols). It's supports SSL connections when connected to a network, which allows you to access it using another computer. With micro controllers this isn't really possible. You need to physically connect it to a computer with a cable if you wish to reprogram it.
So, now it is time to ask the obvious question: which one should you choose for your project? It depends.
The Internet suggests to use a micro controller - such as Arduino - if you are a complete beginner, or if you need to automate something simple. Like a plant watering system. You only need to learn a little bit of programming in C. Heck, if you use prewritten programs from the libraries, you might even pull it off without writing a single line of code.
I, however, decided to use a Raspberry Pi since I already had one at home. I also have experience with Python and Linux. I preferred to get some measurements from the sensor, rather than having to learn C and deal with compiling errors. Moreover, I am planning to build an webapp with a database to control the plant monitoring system and save the measurement data.
Despite this choice, I also got myself micro controllers (NodeMCU ESP32) to experiment with and learn C in a later stage of this project. Why? Out of curiosity and the need to split up the system in smaller components. With this experience I'm now able to compare both systems (SBC's vs micro controllers) and have an opinion about the differences.
So, what's the verdict when it comes to using a single board computer or a micro controller?
My project involved a lot of prototyping and trail and error due to a steep learning curve. I also didn't have a clear idea of the system design. So I had to rewrite programs several times. In this stage I found the Raspberry Pi to have my preference. It allowed me to work more efficient and faster. A micro controller felt less efficient because every small test involved recompiling the code. This is annoying, especially when you overlook small bugs and typos. Debugging C was a bit more complicated because the errors - if there were any - didn't always make sense.
Once I am done with prototyping and experimenting, I switch to micro controllers whenever I feel I have a task that can be executed by a micro controller. This part of the system can then be used independent of what I am doing on the Raspberry Pi.
Final stop: connecting it al together
Time for the final step. A big step: connecting the sensor to the Raspberry Pi and writing programs to get the first readings from it. Now, I was new to electronics, hardware, the I2C protocols and such. I must admit it scared me a bit. Mainly because I read that if you wire sensors in a wrong way, you can short circuit the Raspberry Pi and destroy it.
It is for this worry and anxiety, I chose to use Adafruit's sensor over cheaper options. Adafruit's sensors and boards come with extensive, up-to-date documentation which walk you through basic concepts of electronics, the wiring and coding. The cheaper sensors don't have that. You are on your own with those.
After going through the tutorial a quickly got my first measurements showing on my screen. Victory! I was utterly satisfied and happy.
Illustrations by Janneke Schot
The second video shows the testing of the sensor.