Save time, preprocess your geospatial data with ogr2ogr

Illustrations by Janneke Schot
Hey geospatial data analysts. I'd like to share some knowledge with you about spatial data handling. So, grab a beer. Sit back and enjoy this read.
In this post we will discuss the following topics
- The context
- What is ogr2ogr?
- Convert data to different formats
- Convert and reproject your data
- Clip features using a spatial extent
- Why should you use
ogr2ogr? - Tips on how to get started
Want to get started quickly without too much reading? Checkout the github repository for a summary and data used in this example.
What's the context?
Monday 9:34 AM. You are sitting at your desk drinking your coffee. You are excited, but focused and calm. You'll be starting a new project today that will require your epic geospatial analyses skills. But first, you have to prepare the data. You roll up your sleeves and grab your mouse. Double click and you open QGIS, ArcPro or whatever. A few clicks, drag and drops and you have added your initial datasets to your project. But of course, there is too much data. Most of it isn't needed. Let's clip it to your project extent. You open your email and download the shapefile your colleague sent you. Drag and drop into your QGIS and boom: no data. You smile, zoom out and move the map to check null island. Ah-ah, there it is! Your colleague didn't bother to project the data. We can't blame him, because projections aren't his strongest point. The fix is easy; your most-used projections are bookmarked. A few more clicks and you have clipped the first dataset. Of course, you have more layers so you repeat this step a few more times. Click, click, click and more clicks and you have saved your subsets on the disk. Somewhere... but where? Even after all those years, you still have no idea what the default folder is. Who bothers changing it anyway? You'll be fine, as long as you don't close the application without saving your project. Finally. It is time to unleash the creative geospatial beast in you. But first. Lunch.
What you just did, is apply the most common operations in the field of geospatial analyses:
- Import data
- Reproject data
- Clip data to a project extent
- Export data
Now look at these two commands:
ogr2ogr -f 'GPKG' project_extent_rdnew.gpkg project_extent_wgs.shp -t_srs EPSG:28992 -progress ; ogr2ogr -f 'GPKG' clipped/clip_buildings.gpkg buildings.gpkg -clipsrc project_extent_rdnew.gpkg -progress
By pressing Enter, these two commands (seprated by a semicolon) did everything described above in a matter of seconds. For simplicity purpose, we have applied the operations on one file. It is also possible to process multiple files with a loop, but that's out of scope for this post.
Let's break this down.
What is ogr2ogr?
ogr2ogr is the swiss army knife in the world of geospatial analysis and data processing. It's main purpose is to convert geospatial data to different dataformats without the need of Geographic Information Systems such as QGIS or ArcPro. It also allows us to do various operations during this process. We can reproject our data; clip it; make a sub selection of data or attributes; intersect it; change column names and much more.
How do we use it? In a command line tool such as the terminal in ubuntu or Powershell in Windows. We type commands and assign operations by adding parameters.
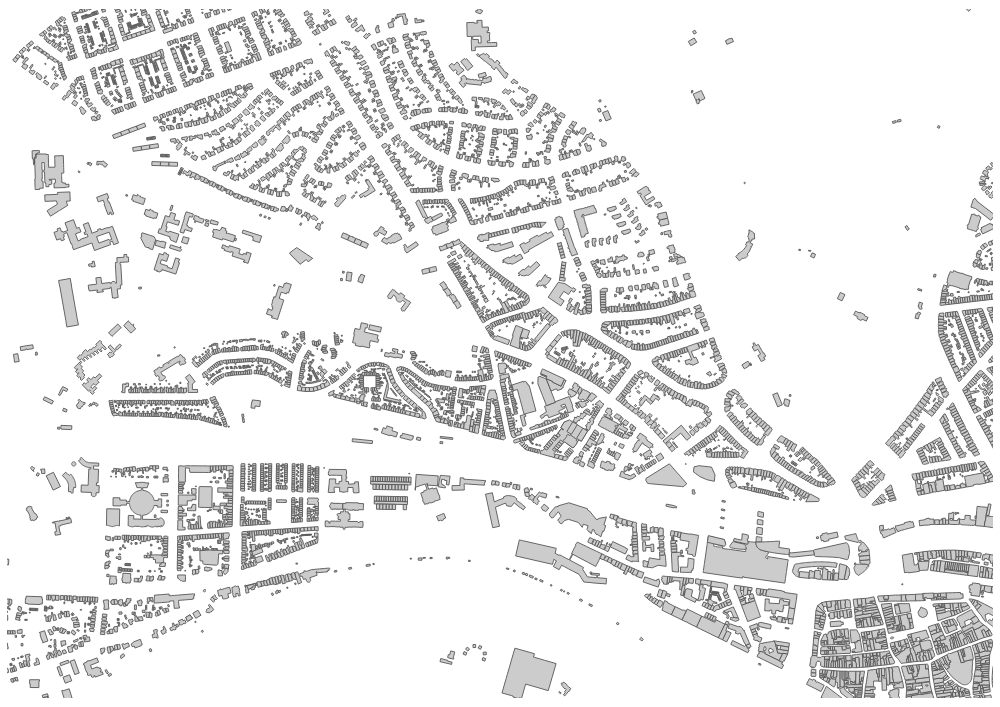
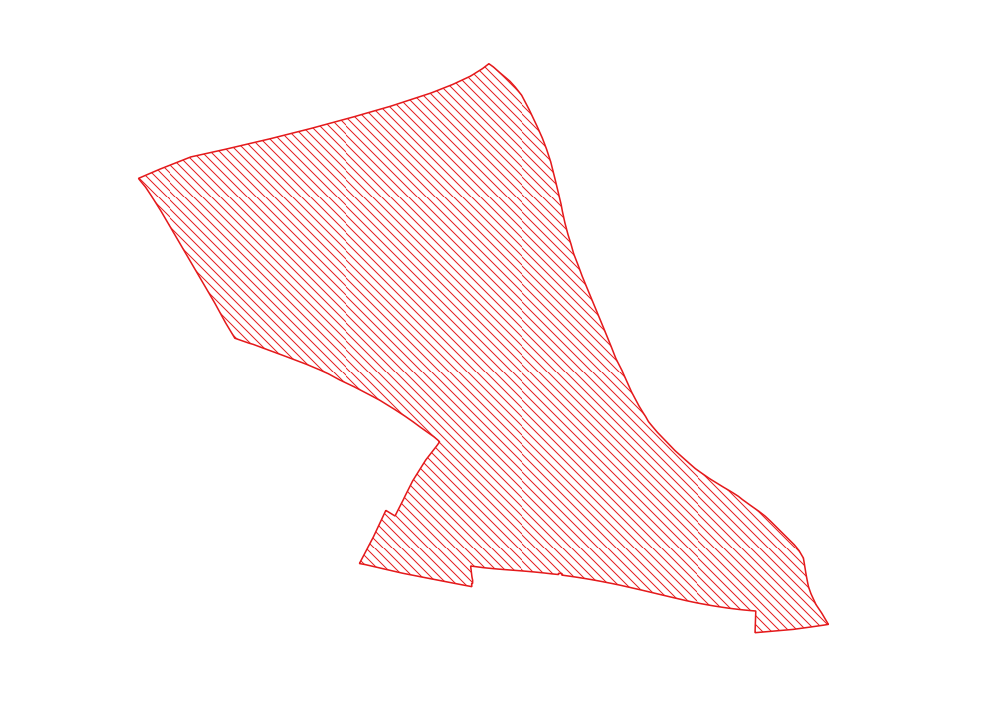
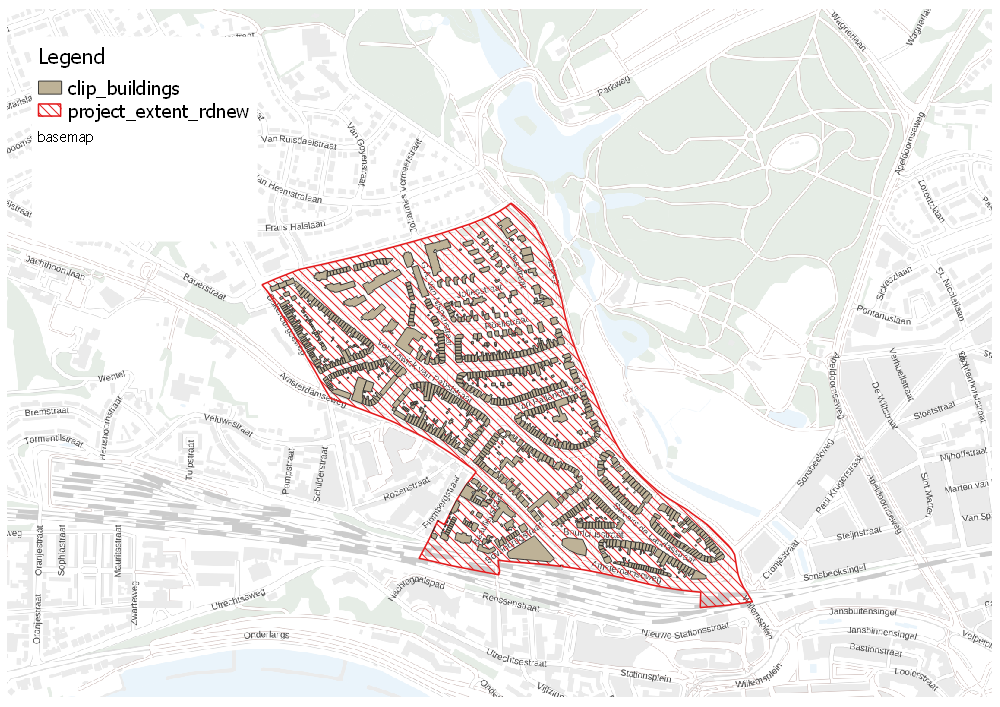
Consider two datasets:
project_extent_wgs.shpa neighborhood which we will use as project extentbuildings.gpkgbuildings which we want to clip using our project extent
Converting our data
Our project extent is a shapefile. For the sake of this example, let's say we want to convert it to a Geopackage. To do this, we can use the following command:
ogr2ogr -f 'GPKG' project_extent.gpkg project_extent_wgs.shp
ogr2ogrbasically tells the computer: get ready, I want to use ogr2ogr.-f 'GPKG'specify the format to which we want to convert our shapefile.project_extent.gpkgis the output file.project_extent_wgs.shpis our input file.
ogr2ogr will execute the command at current path. Make sure to navigate to the folder where you saved the data. This will not only eliminate the need for writing lengthy paths, but also prevent losing your data somewhere in the file system.This is the most simple use of ogr2ogr. To see which formats are available, simply type ogr2ogr --formats in the command line and hit enter. A list of available formats will be shown.
Reprojecting and converting our data
Time for some more action. Our project extent is in EPSG:4326 coordinate system. Also known as WGS84. Our buildings are projected in EPSG:28992, the Dutch reference system. Before we can clip our buildings, we need to make sure both datasets are in the same coordinate reference system for it to work. We need to reproject one of the two. Let's reproject our project extent to the Dutch coordinate reference system.
We can do this by adding an extra parameter to our command. How do we know which? Well, by either checking the documentation, or typing ogr2ogr in our terminal. The latter requires a little bit more experience with the tool since it only shows the parameters. No explanation whatsoever.
So, we checked the documentation and determined that we can reproject the data using the -t_srs parameter and the EPSG code of the required projection. Adding this to our command gives us:
ogr2ogr -f 'GPKG' project_extent_rdnew.gpkg project_extent_wgs.shp -t_srs EPSG:28992
The command results in a geopackage with data in EPSG:28992 coordinate reference system.
The conversion process can take some time for larger datasets. It would be nice to see how far the process is in the terminal. Luckily ogr2ogr has thought about that. We can add the -progress parameter. This will not do anything with the data. It will only add a progress bar in the terminal.
ogr2ogr -f 'GPKG' project_extent_rdnew.gpkg project_extent_wgs.shp -t_srs EPSG:28992 -progress
Clipping our data
With the conversion and reprojection of our project extent, we can move on to actually clipping our buildings. The command is slightly different as we call a different operation.
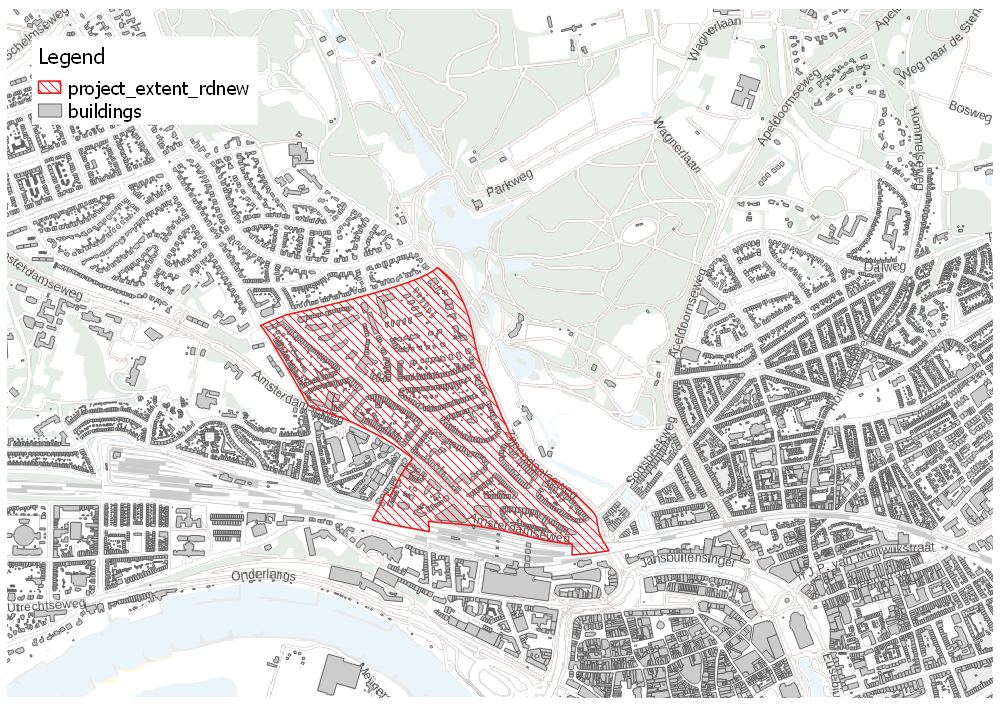
ogr2ogr -f 'GPKG' clipped/clip_buildings.gpkg buildings.gpkg -clipsrc project_extent_rdnew.gpkg -progress
ogr2ogrtell computer you are about to use ogr2ogr.-f 'GPKG'specify the output format.clipped/clip_buildings.gpkgspecify output file and destination. In our case we wish to save result in a subfolderclipped/.buildings.gpkgis our input file.-clipsrcthe clip operations we wish to apply using another file.project_extent_rdnew.gpkgthe file containing the clip features. In our case our reprojected neighborhood.-progressand show us a progress bar.
EPSG:4326 will result in an empty output. The reason is simple: there won't be any spatial overlap between both layers, and thus nothing will be clipped.Why use this ugly abstract thing
I must admit, I avoided using ogr2ogr for a long time. Simply because I thought it was way too complex. And let's be honest, command lines are scary if you haven't worked with them before. But we grow old and smart and our curiosity overcomes the anxiety. So why use it?
- It's blazing fast
- It can handle large datasets
- It allows us to automate data processing
- Typing commands is faster and easier than clicking
- It reduces time spent on repetitive and boring work
- It makes you move on to the more exciting stuff where we can unleash the creativity beast inside us
- No need to open heavy GIS and load projects with datasets that consume your machines resources
- Chances of losing your data somewhere on your drive because of default folder settings are zero to none
Tips on how to start
It took me quite some time before I started using ogr2ogr on a daily basis. Why? Because memorizing the commands and parameters is difficult. I had to look them up every time I wanted to convert a file or process data. It took about the same amount of time as opening QGIS. Not to mention the time I spend debugging my commands. So, my tips for you to get started:
- Use it as often as possible to convert your files or perform easy operations. Even if it takes more time. The more you use it, the better you'll get. It will become your second nature.
- Explore one operations at a time. Don't make your commands too complex. Start with simple reprojections and slowly add more operations as you get more experienced.
- Bookmark a cheatsheet in your bookmarksbar for easy access.
- Save complicated commands which you are proud of in a text file or a note keeping app as a reference.
- Use
ogrinfoto explore your data if you don't need to do any operations or conversions. It will help you get used to the command line tools. (more on this in another post) - Take your time to read the errors. Really. Read them twice.
Want to try this out? Check out the Github repository with data and a summary of the ogr2ogr commands used in this post.
Good luck and have fun!
Illustrations by Janneke Schot